Winter Penguin Nails
Start by painting your nails any shade of blue you like, then add the silhouette of the penguin. The arms might be a little tricky, but you'll get the hang of it!
The add the penguin's white tummy and face
And lastly, add the two eyes and the orange beak!
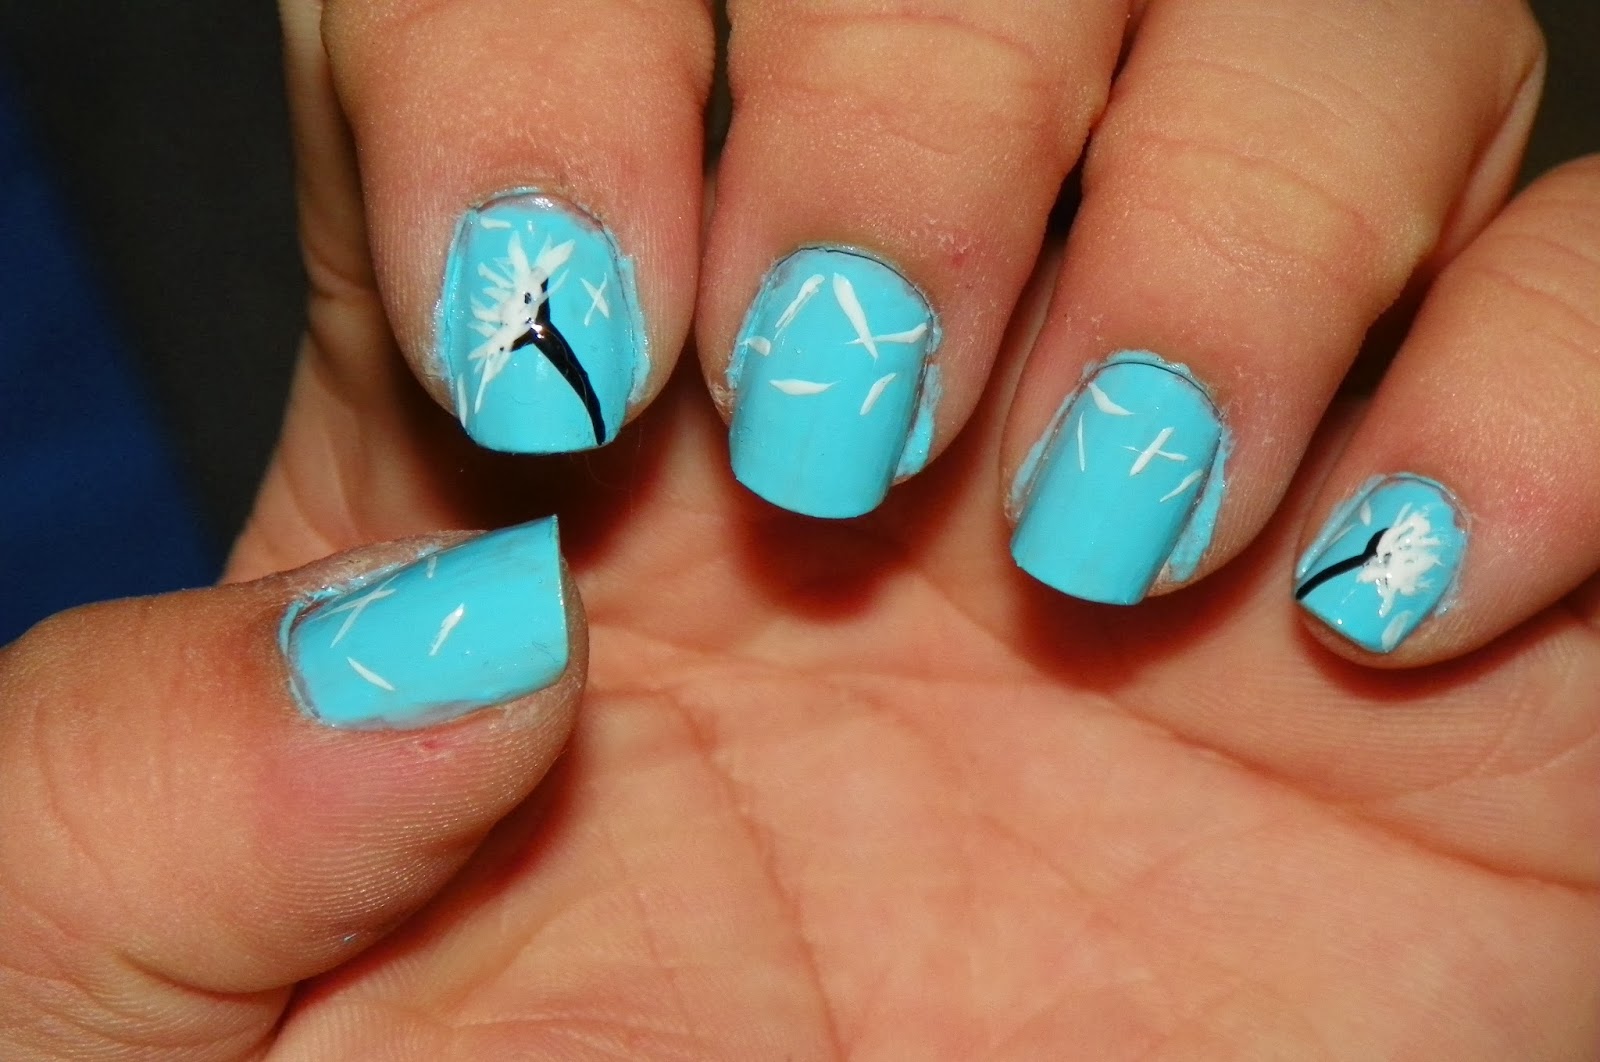
Dandelion Nails
Start with painting your nails a light shade of blue, or any color you would like as the background
On the index finger draw a curved line with a half circle at the top (this is the stem)
Do the same on your pinkie finger.
They should look like this after, if you want you can draw one of the stems on your middle finger instead of your index finger.
This part might take some time, just start adding white lines over the top of the stems and around it to make it look like the dandelion is being blown. Add some more of the white lines on the other three fingers, giving the illusion that all your fingers are part of the same scene.
Don't forget to clean up around the edges! And there are your dandelion nails!
Falling Heart Nails
Start with painting your nails with a light grey
Add lines of any colors you want. I used the colors of the rainbow and just had them repeat.
Lastly, add the hearts. This might be a little hard with a regular nail polish brush, I use a nail polish pen.
And there you go! falling heart nails! Don't forget to clean up the excess nail polish around the nails!
Pink Bear Nails
Add the dots. Can't forget the dots!
And now comes the bear. One large circle on the corner of you nail with two smaller circles as the ears.
Lastly add the face. Just three small dots and your done. Don't forget to clean up the edges!


No comments:
Post a Comment